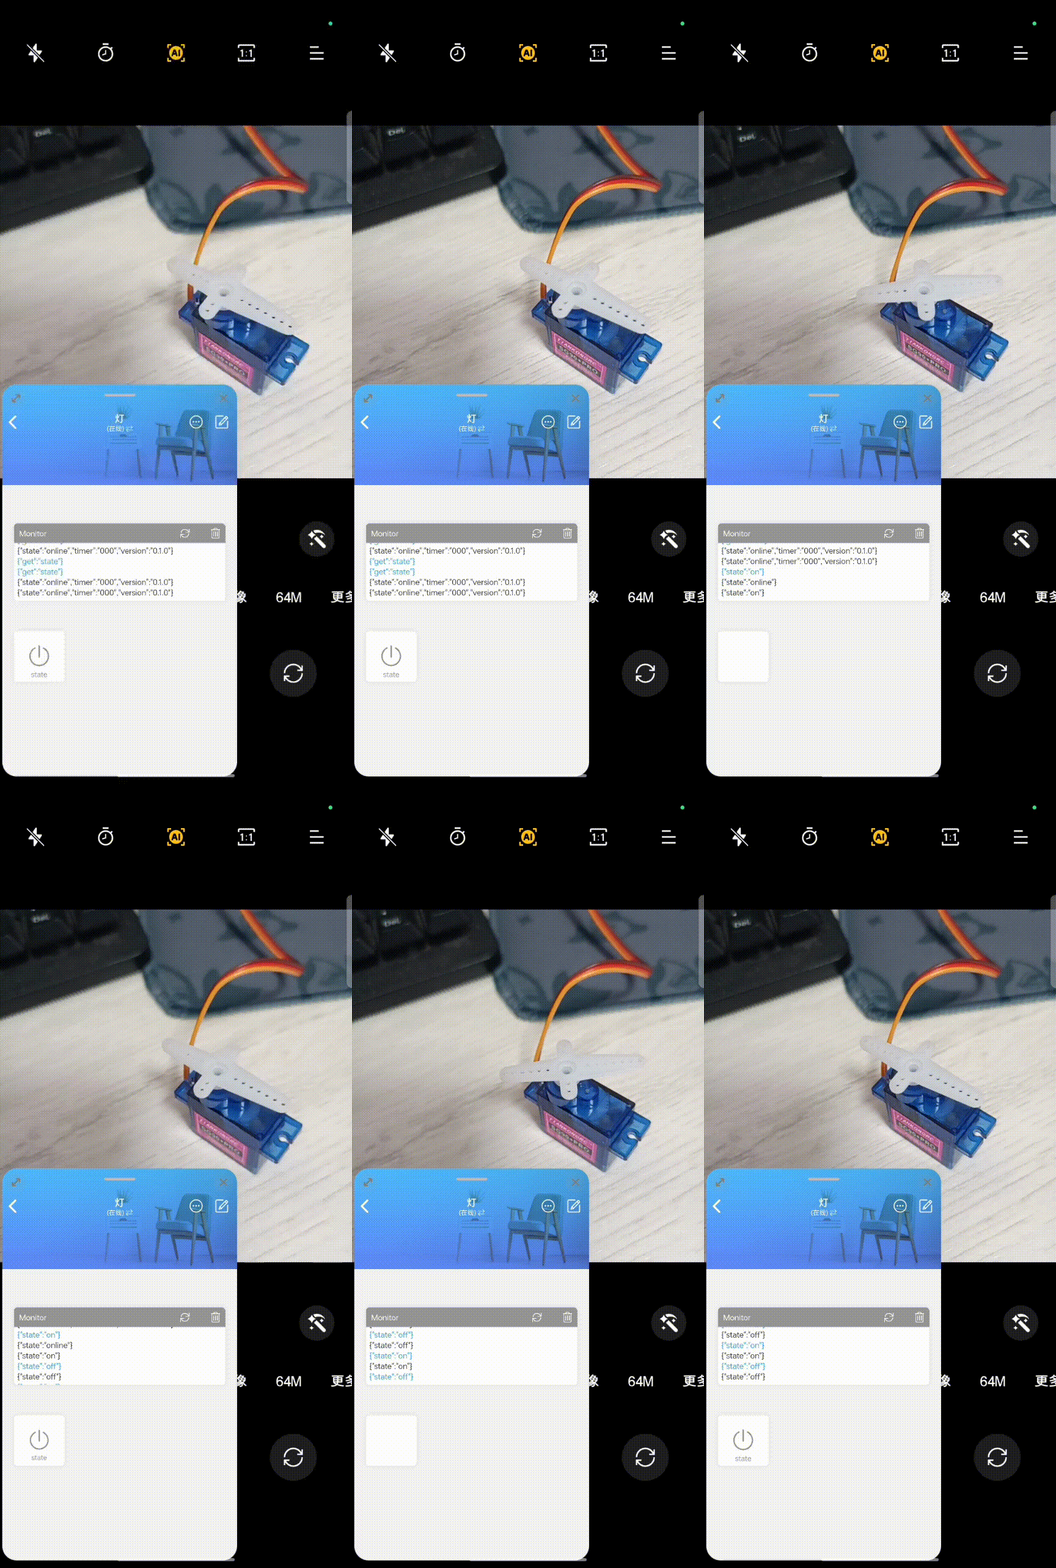
寒假已至,平日无事,唯刷手机度日。夜深,于床上被中,博览万物于手机b站方寸之屏幕,夜更深,睡意遂至。欲睡则必先灭灯。可曾想,开关离床甚远,奈何被褥施封印于吾身,于是便欲再刷一阵作罢,却又一发不可收拾。至三更半夜,尿意至,于是乎才破开被褥之封印。此一切,皆归因于开关离床甚远,而非吾本人之意。遂作此智能开关,可令吾灭灯在床。
材料
- 点击添加设备
- 选择独立设备
- 网络接入
- 复制保存 secret key 待用
然后主页就会有你刚添加的设备
然后点击进行设置:
点击右上角的笔可以编辑页面组件,然后点击下方的按键进行添加
组件键名一定要和源码的按钮一样 (我这里设置了一个按钮,一个开一个关
设置保存后记得更新动作配置,点自动生成保存即可

环境
arduino ide
可以在https://www.arduino.cc/en/donate/learn-more 找到最新版本
我这里是2.2.1
https://downloads.arduino.cc/arduino-ide/arduino-ide_2.2.1_Windows_64bit.msi 2.2.1 的安装msi
安装后可以在 file ->**Preferences **改为中文

https://diandeng.tech/dev
里面找到最新的8266库安装程序 下载运行exe即可安装
然后是blinker库
https://codeload.github.com/blinker-iot/blinker-library/zip/refs/heads/master
下载blinker的库文件

导入下载的zip即可
接线

舵机的黄色口接esp8266的 D0 红色接VU 剩下的紫色接 G

(颜色可能不一样,对应一下
烧录
开发板要选择NodeMCU 1.0 (ESP-12E Moudle) 而不是带8266字眼的!!!

至于端口号可以在 此电脑-> 管理 -> 设备管理器 ->端口 查看

可以拔插一下,哪个新增或者减少就是改端口,记住端口号(我这里是com3
程序源码
1
2
3
4
5
6
7
8
9
10
11
12
13
14
15
16
17
18
19
20
21
22
23
24
25
26
27
28
29
30
31
32
33
34
35
36
37
38
39
40
41
42
43
44
45
46
47
48
49
50
51
52
53
54
55
56
57
58
59
60
61
62
63
64
65
66
67
68
69
| #define BLINKER_WIFI
#define BLINKER_MIOT_OUTLET
#include <Servo.h>
#define PIN_SERVO D0
Servo myservo;
#include <Blinker.h>
char auth[] = "0a80bbc20dd0";
char ssid[] = "AX3000T";
char pswd[] = "Chen13610532471";
bool oState = false;
BlinkerButton Button1("open");
BlinkerButton Button2("close");
void button1Callback(const String &state) {
BLINKER_LOG("Button1 state: ", state);
if (state == BLINKER_CMD_ON) {
myservo.attach(PIN_SERVO,500,2500);
myservo.write(0);
delay(1000);
myservo.write(90);
delay(1000);
Blinker.print("灯", "开启");
oState = true;
}
}
void button2Callback(const String &state) {
BLINKER_LOG("Button2 state: ", state);
if (state == BLINKER_CMD_ON) {
myservo.attach(PIN_SERVO,500,2500);
myservo.write(180);
delay(1000);
myservo.write(90);
delay(1000);
Blinker.print("灯", "关闭");
oState = false;
}
}
void setup()
{
Serial.begin(115200);
BLINKER_DEBUG.stream(Serial);
pinMode(LED_BUILTIN, OUTPUT);
digitalWrite(LED_BUILTIN, HIGH);
Blinker.begin(auth, ssid, pswd);
Button1.attach(button1Callback);
Button2.attach(button2Callback);
}
void loop()
{
Blinker.run();
}
|
点击ide左上角的向右箭头上传到esp8266模块即可
完成输出

测试

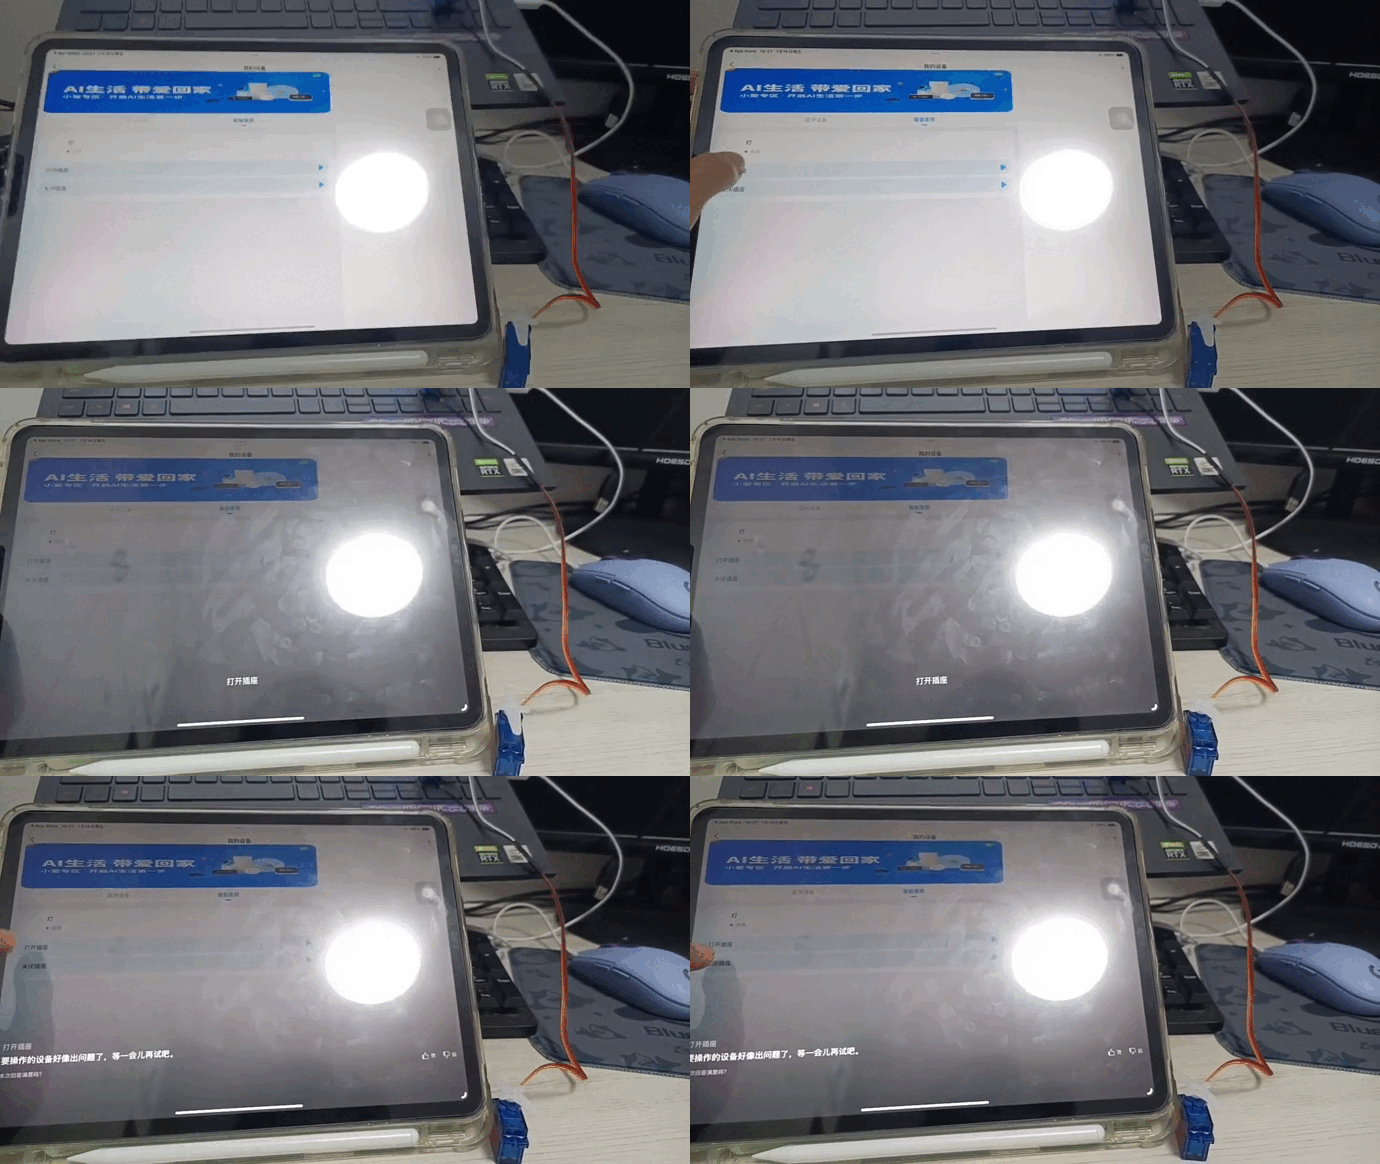
小爱同学控制
米家app
我的 —> 添加其他平台 —> 搜索点灯科技 并输入账号密码添加
然后打开小爱同学即可看到绑定的设备了
烧录
用这个源码
用到小米的miot库
1
2
3
4
5
6
7
8
9
10
11
12
13
14
15
16
17
18
19
20
21
22
23
24
25
26
27
28
29
30
31
32
33
34
35
36
37
38
39
40
41
42
43
44
45
46
47
48
49
50
51
52
53
54
55
56
57
58
59
60
61
62
63
64
65
66
67
68
69
70
71
72
73
74
75
76
77
78
79
80
81
82
83
84
85
86
87
88
89
90
91
92
93
94
| #define BLINKER_WIFI
#define BLINKER_MIOT_OUTLET
#include <Servo.h>
#define PIN_SERVO D0
Servo myservo;
#include <Blinker.h>
char auth[] = " ";
char ssid[] = " ";
char pswd[] = " ";
bool oState = false;
void miotPowerState(const String & state)
{
BLINKER_LOG("need set power state: ", state);
myservo.attach(PIN_SERVO);
if (state == BLINKER_CMD_ON) {
myservo.write(29);
delay(1000);
BlinkerMIOT.powerState("on");
BlinkerMIOT.print();
oState = true;
}
else if (state == BLINKER_CMD_OFF) {
myservo.write(-29);
delay(1000);
BlinkerMIOT.powerState("off");
BlinkerMIOT.print();
oState = false;
}
}
void miotQuery(int32_t queryCode)
{
BLINKER_LOG("MIOT Query codes: ", queryCode);
switch (queryCode)
{
case BLINKER_CMD_QUERY_ALL_NUMBER :
BLINKER_LOG("MIOT Query All");
BlinkerMIOT.powerState(oState ? "on" : "off");
BlinkerMIOT.print();
break;
case BLINKER_CMD_QUERY_POWERSTATE_NUMBER :
BLINKER_LOG("MIOT Query Power State");
BlinkerMIOT.powerState(oState ? "on" : "off");
BlinkerMIOT.print();
break;
default :
BlinkerMIOT.powerState(oState ? "on" : "off");
BlinkerMIOT.print();
break;
}
}
void dataRead(const String & data)
{
BLINKER_LOG("Blinker readString: ", data);
Blinker.vibrate();
uint32_t BlinkerTime = millis();
Blinker.print("millis", BlinkerTime);
}
void setup()
{
Serial.begin(115200);
BLINKER_DEBUG.stream(Serial);
pinMode(LED_BUILTIN, OUTPUT);
digitalWrite(LED_BUILTIN, LOW);
Blinker.begin(auth, ssid, pswd);
Blinker.attachData(dataRead);
BlinkerMIOT.attachPowerState(miotPowerState);
BlinkerMIOT.attachQuery(miotQuery);
}
void loop()
{
Blinker.run();
}
|
测试
我手机不适配小爱同学,所以用ipad测试

结语
最后根据实际调整舵机转动度数,然后沾到灯开关按键旁边即可


